This seemed easy with Laravel 5.4 supporting s3 disks but it took a bit of setting up and a lot of trial and error so this is what is needed to get it working.
- Setting Laravel up to use s3
Ensure that you follow the docs and add flysystem to your composer.json.
"league/flysystem-aws-s3-v3": "~1.0"
Then update composer.
composer update
2. Sign up for AWS
3. Create your first bucket.
There are 4 steps to creating a bucket.
Add a unique bucket name and choose a region.
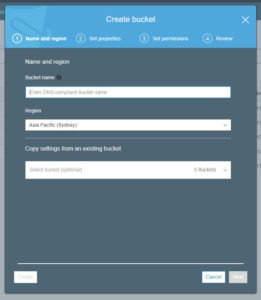
Nothing to change or add on this screen or up to step 4. Just click next on each.
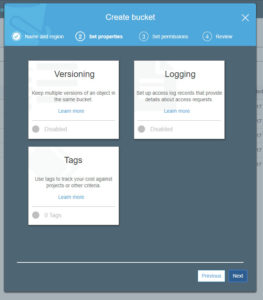
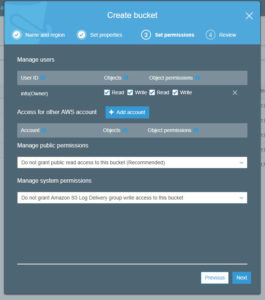
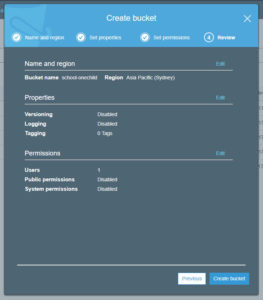
Your bucket will now be added to the system.
4. Create a IAM user with the right permissions.
Click on services in the top bar and then click on IAM.
On the IAM screen click on users and then add user.
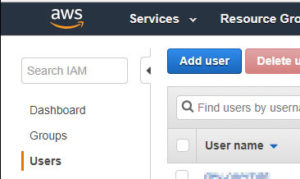
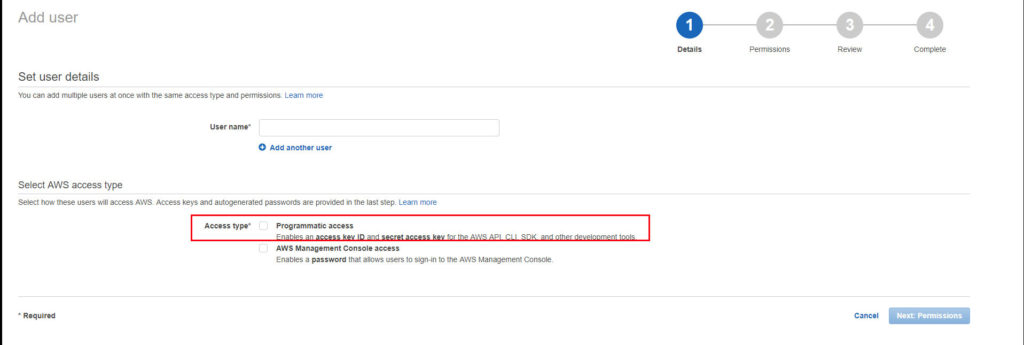
Add a user name and tick the programmatic access. Click next.
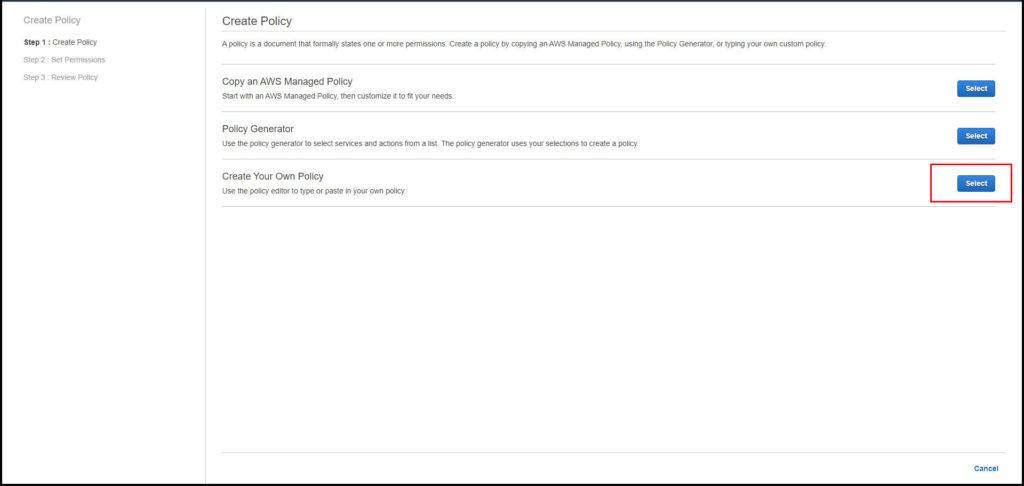
Click on the ‘Attach Policies’ and then ‘Create Policy’.

A new tab will open (remember that as we will be coming back to the above page shortly. Click on the select button for ‘Create your own policy’.
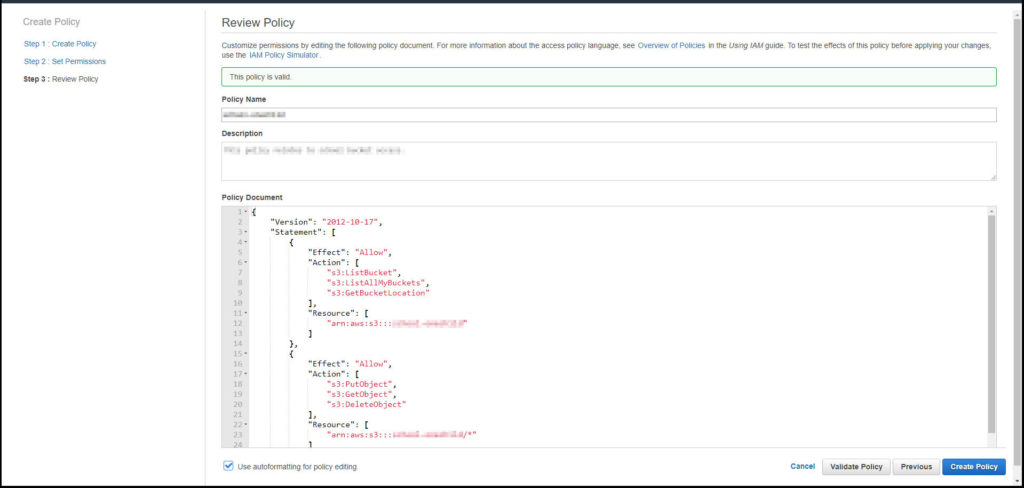
To add a policy copy the code below exactly and do not change the date for the version. Make sure you do change the ‘bucket-name’ in two locations to your buckets name which you just created.
{
    "Version": "2012-10-17",
    "Statement": [
        {
            "Effect": "Allow",
            "Action": [
                "s3:ListBucket",
                "s3:ListAllMyBuckets",
                "s3:GetBucketLocation"
            ],
            "Resource": [
                "arn:aws:s3:::bucket-name"
            ]
        },
        {
            "Effect": "Allow",
            "Action": [
                "s3:PutObject",
                "s3:GetObject",
                "s3:DeleteObject"
            ],
            "Resource": [
                "arn:aws:s3:::bucket-name/*"
            ]
        }
    ]
}
Check the policy and then click on create if all is good.
Go back to the previous tab we talked about earlier not to forget. Find the policy that you just made. You should click on the refresh button first then you may need to use the search so just start typing the policy name. Tick the checkbox next to the policy you just created and click next down the bottom right.
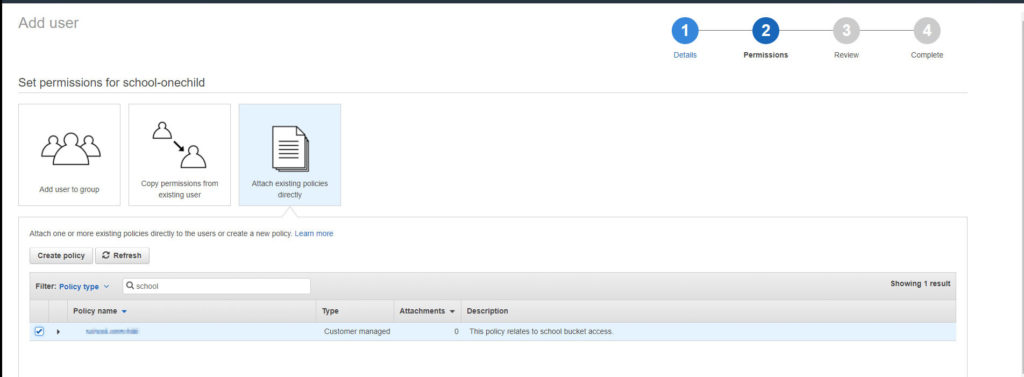
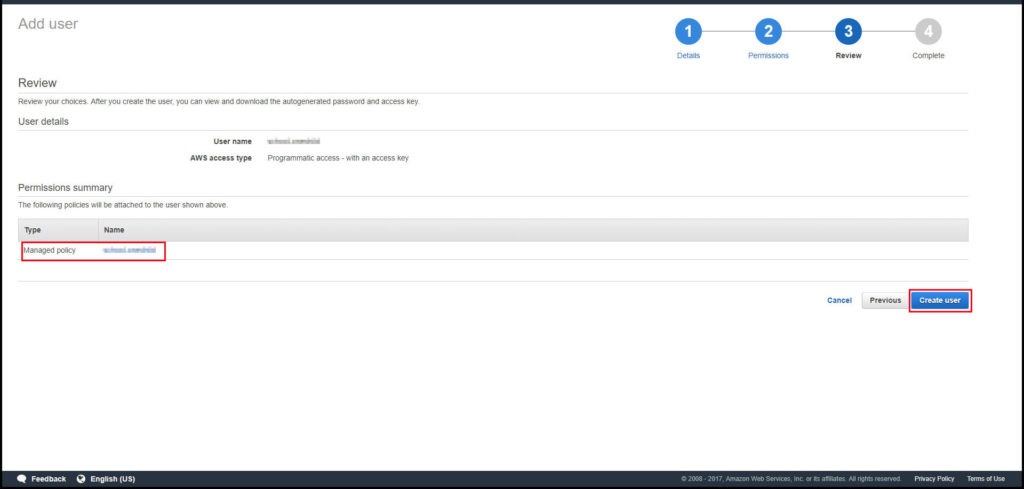
Create the user.
This is the newly created user. It is VERY IMPORTANT to copy the key and secret key down here. You will not be able to access it at any other time.
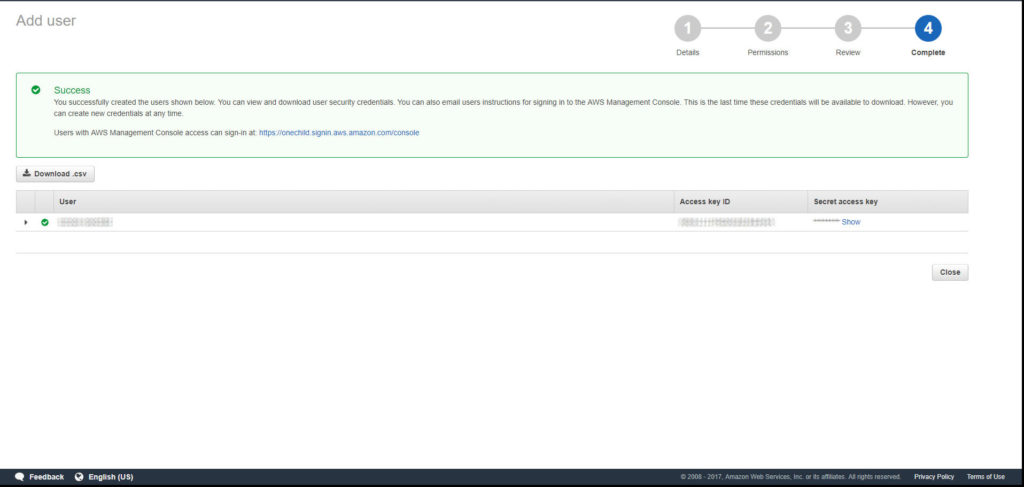
Done the bucket and the user has been added to AWS s3 now. You can start to store files here now.
5. Adding Bucket to Laravel
IN you .env file add this to the bottom of the page.
S3_KEY=XXXXXXXXXXXXXXX
S3_SECRET=XXXXXXXXXXXXXXXXXXXXXXXXXXXXX
S3_REGION=XX-XXXXXXX-XX
S3_BUCKET=your-bucket
In your config/filesystems.php
in disks change to refer to your .env file. This keeps the access keys out of your version control.
's3' => [
            'driver' => 's3',
            'key' => env('S3_KEY'),
            'secret' => env('S3_SECRET'),
            'region' => env('S3_REGION'),
            'bucket' => env('S3_BUCKET'),
        ],
You can also change the default disk to ‘s3’ if that suits you.
Why are my images not showing up?
In AWS s3 a buckets contents are private and cannot be accessed from a website or even with a direct url. Laravel allows you to individually set permission for files which are saved to s3. If you would like to allow all images to be visible from you bucket you can set permission for the bucket in AWS. By doing this you will be able to show images on your website which are stored in your bucket. This also means that you do not need to specify in your project for each file.
In AWS go to s3 and click on your bucket.
Click on permission on the top tab. Click on Bucket policy. Add the code snippet below and save.
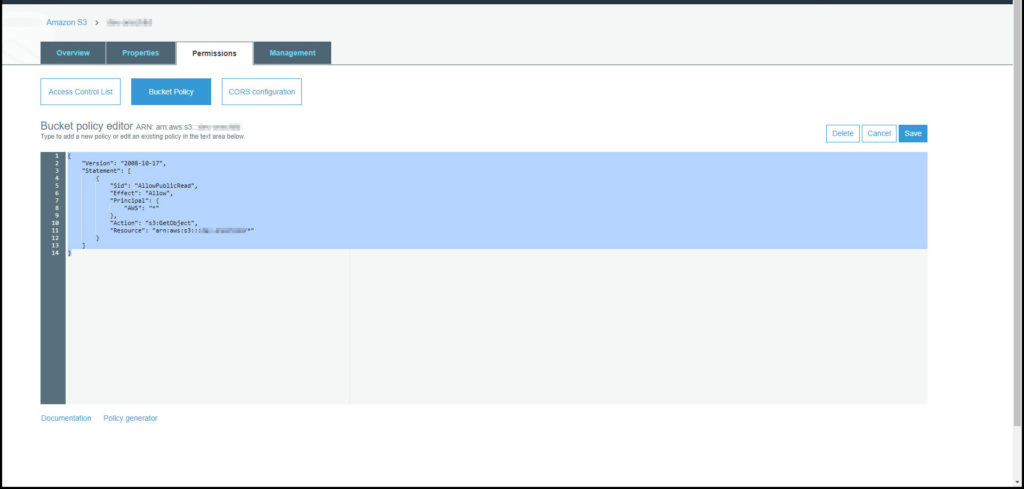
This article helped and provided the code below. Of course change the ‘your bucket’ to the name of your bucket. Click on save.
{
    "Version": "2008-10-17",
    "Statement": [
        {
            "Sid": "AllowPublicRead",
            "Effect": "Allow",
            "Principal": {
                "AWS": "*"
            },
            "Action": "s3:GetObject",
            "Resource": "arn:aws:s3:::your-bucket/*"
        }
    ]
}
Saving files.
However you have your upload set up here are a few tips.
I am using intervention to assist with my file uploads. So in your code mine is a service class I use for uploads but yours might just be in your Model or controller.
This article helped
$saved = Image::make($file)->resize($imageSize, null, function ($constraint)
        {
            $constraint->aspectRatio();
            $constraint->upsize();
        })->orientate();

        $newImage = $saved->stream();

        Storage::disk('s3')->put($path . $name, $newImage->__toString());

        return $saved;
The important parts here are the stream() and then the __toString().
Dont forget to include Storage facade in your code e.g.
use Illuminate\Support\Facades\Storage;
That is about it . You have all the elements to make this work.
If you are having problems getting this to work locally check out my trouble uploading to s3 from local
